Introduction to time lapse photography
Most people that I know should be thinking. What is he doing with time lapse photography? I am well known as un under water photographer as you can see on my personal website. My craziness for time lapse photography started two years ago. I was giving a lecture about cold water diving at an international photography festival. I happened that Neil Lucas a producer from the BBC was at this festival as well. He showed the amazing time lapse movies that were made for the famous Life Series from the BBC. That was the moment. I knew I wanted to do this myself. On this blog I will gradually explain more about time lapse photography. How do you make those movies? What equipment can you use? How do you use software like Adobe After Effects to create time lapse movies? It will all be explained in time.
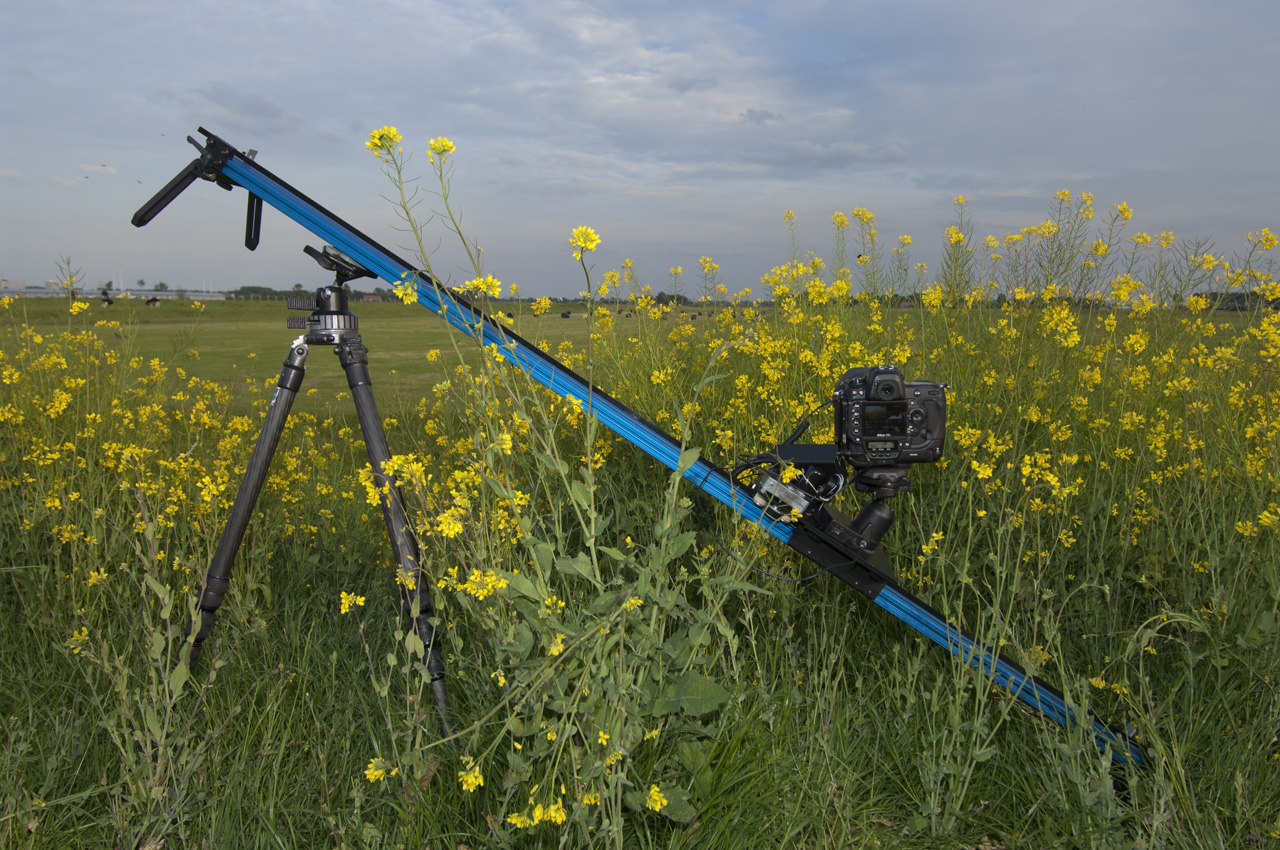
A basic time lapse movie is not that hard to make. You make a picture of your subject with an interval of, for example, five seconds. You then create a real movie of these pictures. This will fasten up time enormously because a "normal" movie needs 25 to 30 pictures per second. You see time lapse movies in almost every TV series or documentary when you start to look for it. Most of the short movies are, in my opinion, of bad quality. That's mostly because you are looking at normal movies that are played faster afterwards. I believe that most impressive time lapse movies need to be made with a moving camera. That way you are not looking from a static standpoint. Have a look at the BBC movie that Neil Lucas produced.
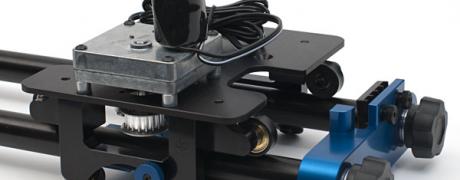
There are two ways how you can move your camera over the slider. The first one is continuous mode. At this mode the camera travels, slowly, with a constant speed over the rail. This might introduce some blur in your images but that can result in a "film" look in your movie. The second way how you can move your camera over the rail is shoot move shoot. You take a picture and move the camera to the next position and stop the cart before a subsequent image is taken.
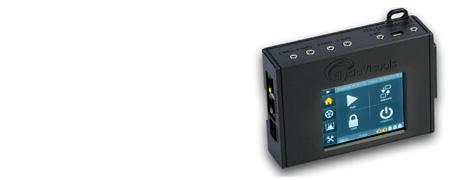
Please keep an eye on this blog. Our next article will be about how to use your "Stage Zero" dolly in the field and how you need to set all the correct settings on the MX2 controller. Let's for now conclude with a very short movie that I made myself with a shoot move shoot dolly.
related products - Related Products
- Log in to post comments
 Nederlands